Trafalgar — the design that survived losing its signals
On 21 October 1805 an outnumbered British fleet beat the Combined Fleet and lost no ships at all. The charge in two columns is what catches the eye. But cutting the enemy's line meant cutting your own chain of command. What decided it was building, twelve days before the battle, a fleet that could still fight once the signals stopped.
- The outnumbered side won without losing a ship. What decided it was not the shape of the charge but intent and a specified default distributed twelve days earlier, so the fleet could run itself once signals failed.
- Villeneuve had read the British method in advance and reached the same conclusion — fight on your own judgment. What separated them was not the insight but whether the peacetime work of making it executable had been done.
- A nearly perfect tactical victory did not end the war. The invasion had already been abandoned before the battle, so "Trafalgar stopped the invasion" reverses the order of cause and effect.
Pattern: a design of command →
The protagonist is shown in blue, the opponent in red.
- Date
- October 21, 1805
- Place
- Off Cape Trafalgar, south-west Spain
- Key figures
- 4
- Result
- Decisive British victory (Nelson killed)
Contents
- Background — why did the weaker fleet leave port?
- Forces — the Combined Fleet had the numbers
- Forces and losses, compared
- Deployment — the line of battle, and a line that had come apart
- Thesis — not the charge, but a design that survives losing your signals
- Two layers — the surface fight and the design beneath
- The course — 21 October 1805
- What actually decided it
- Why the losers were not fools
- Aftermath — a decision at sea did not end the war on land
- The story — Turner's canvas and an inverted causation
- Counterfactuals — remove one factor at a time
- What transfers — in other arenas
- In closing — not the unorthodox move, but the state that can absorb it
Background — why did the weaker fleet leave port?
In 1805 Napoleon was preparing to invade Britain. Crossing the Channel required command of the sea. The Franco-Spanish Combined Fleet lay blockaded in Cadiz, penned in and starved of the sea time its crews needed14.
In that position the rational choice is not to sail. A fleet in being continues to exist, and its mere existence ties down the Royal Navy. Sail, and you can lose it. And yet the Combined Fleet came out. Why did the weaker side move? The structure of the battle is compressed into that question.
The answer sits above tactics. Villeneuve had been prodded repeatedly by the emperor, and had learned that a replacement was on the way. Preserving the fleet was tied to a personal outcome: his own removal. When the organisation's logic and the logic of the individual inside it diverge, it is the individual's that moves.24
On the Spanish side, Gravina is reported to have argued against sailing on the grounds of the weather. As one of the two parties to the alliance he had standing to object, but not the weight to reverse the decision. Sound caution losing to a structure has exactly the shape it has for Kutuzov at Austerlitz and Paullus at Cannae. Three cases, three times the same failure.
Forces — the Combined Fleet had the numbers
27 British ships of the line to 33 Combined, and about 17,000 men to about 30,000: the Combined Fleet was the stronger on paper14. What separated them was not the numbers but what could be done with them.
Forces and losses, compared
| British (protagonist) | Combined (opponent) | |
|---|---|---|
| Ships of the line | 27 | 33 |
| Men | c. 17,000 | c. 30,000 |
| Ships lost | 0 | c. 18–22 |
| Killed | 458 | c. 3,000–4,400 |
| Wounded | 1,208 | — |
| Captured | — | c. 7,000–8,000 |
Figures vary by source, and Combined casualties vary widely. The point is the scale of the asymmetry — the British lost no ships at all. Most of the prizes, however, were lost in the gale that followed12.
Deployment — the line of battle, and a line that had come apart
The practice of the day was the line of battle: ships in single file, sailing the same course, exchanging broadsides. Hold the line and you cannot fire into your own ships, and the admiral can govern the whole by flag signal. Being neatly in line was the condition that made command possible.1
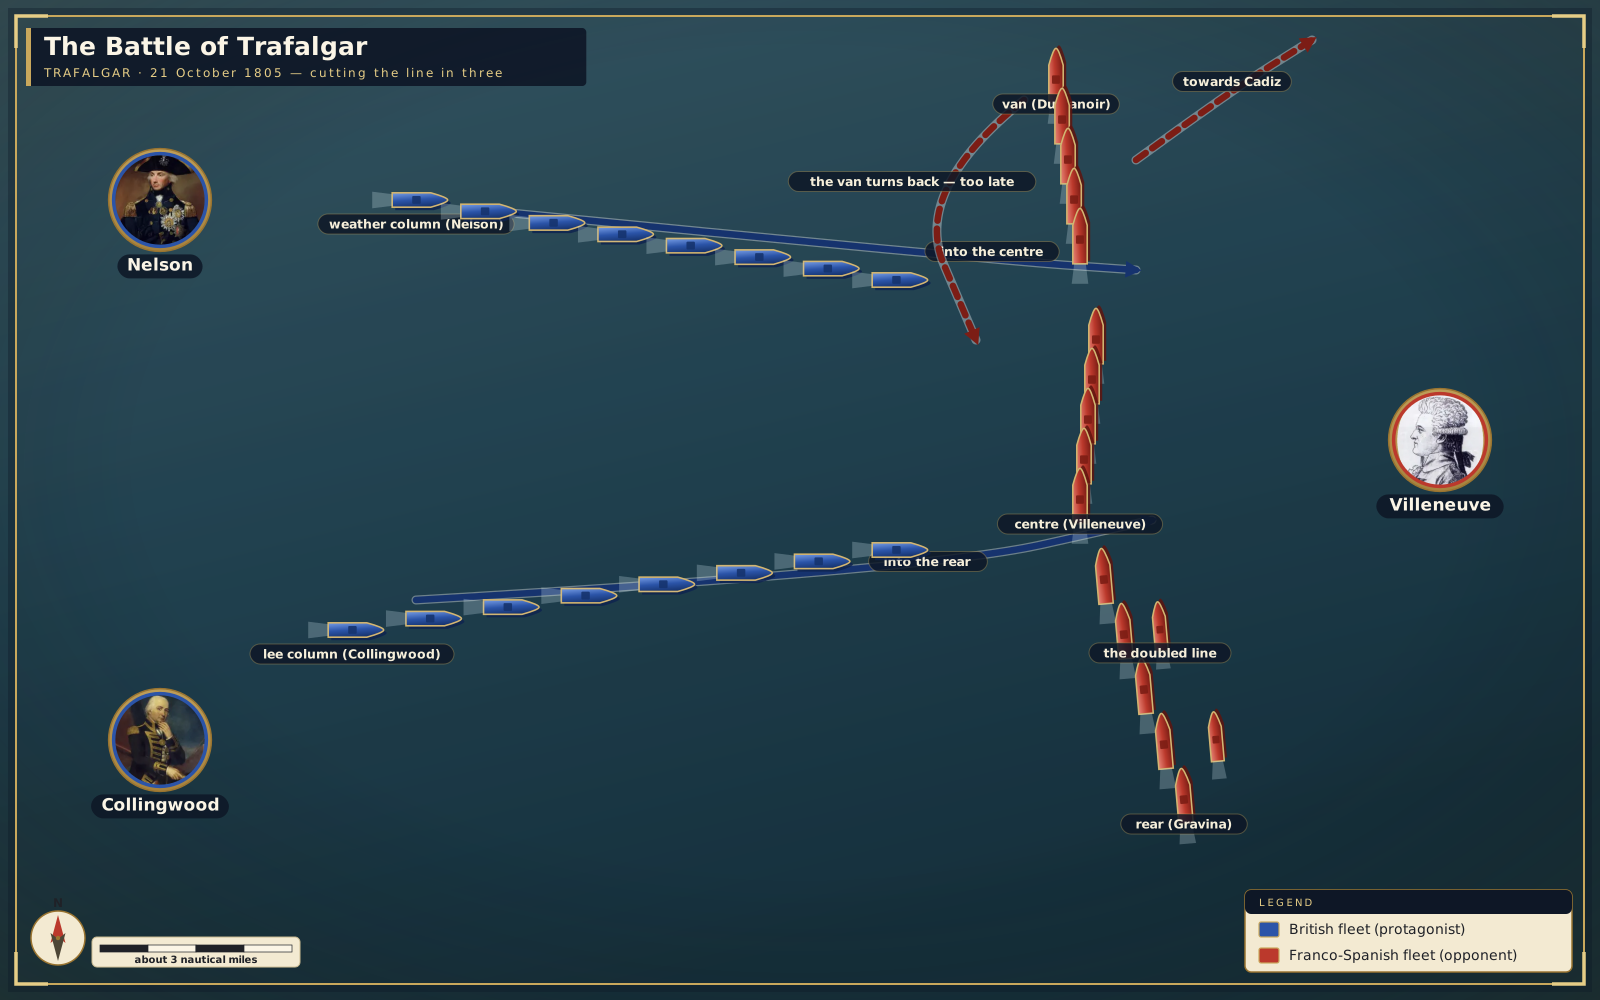
On the morning of 21 October the Combined line was not neat. Having stood south during the night, the fleet wore round to head back for Cadiz, and the manoeuvre left the line stretched, bowed and in places doubled. End to end it ran some 8 kilometres4. A long line also means a signal from the flagship takes a long time to reach the far end.
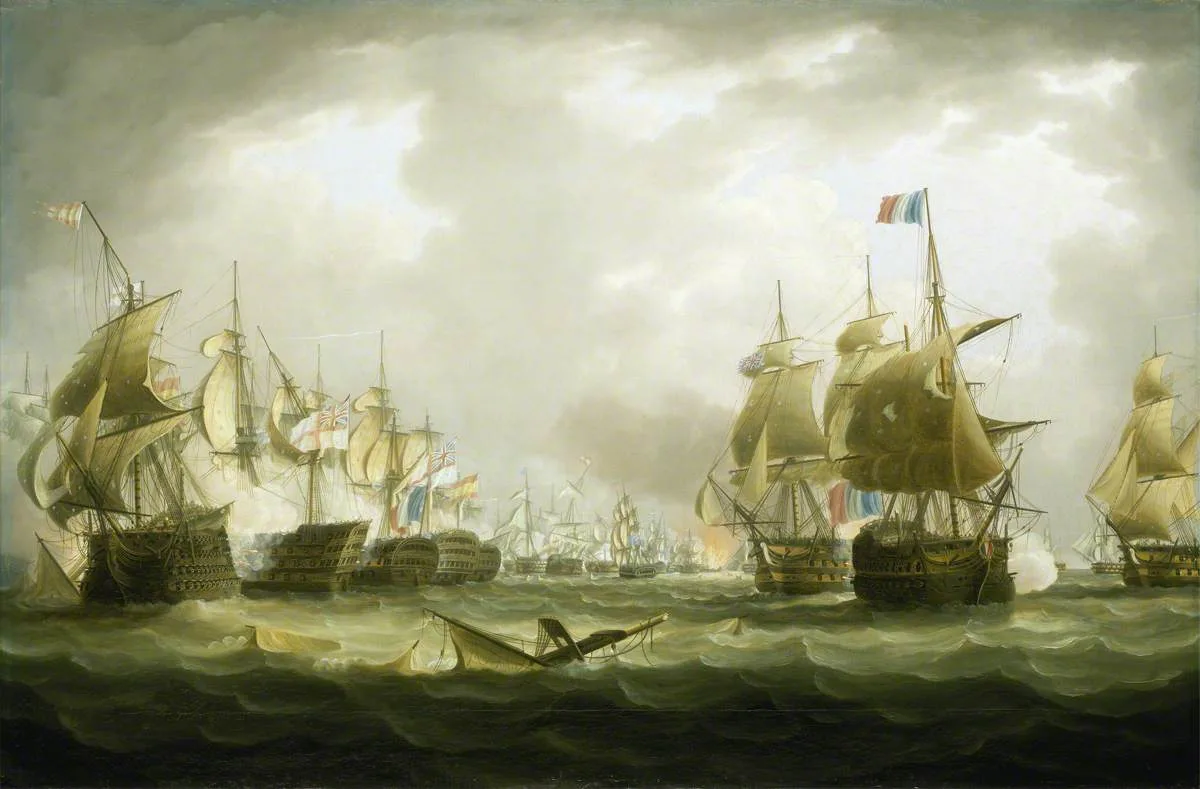
The British did not form a line at all. The fleet went in as two columns, driving into the enemy's flank at right angles. This was a choice not to form line, and a departure from the accepted practice. Ships approaching in column cannot use their own broadsides and are fired into without reply. It is a dangerous shape14.
So why was it available? The answer is the wind. It was light that day, with a heavy swell. Low speed meant a long approach and more exposure. Nelson closed anyway. A long-range cannonade ends at nightfall with the stronger fleet still there. Unless you get close enough to take or sink, you win and let the enemy go23.
Thesis — not the charge, but a design that survives losing your signals
The battle is usually explained by the "Nelson touch" — the trick of going in as two columns. But that is the shape, and it does not explain why the shape worked.
Cutting the enemy's line and forcing a melee means destroying your own chain of command at the same time. With ships intermingled and smoke blocking the view, flag signals cannot be read. In the event Victory's signal halyards were shot away and direction from the flagship stopped. A melee is ungovernable for the side that starts it too.
Nelson did not accept that as an accident; he built it into the plan as a premise. Twelve days before the battle he circulated a memorandum to his captains setting out how the fleet would divide, where the enemy line would be cut, and what each of them was for. It added that if signals could neither be seen nor understood, no captain could do very wrong by placing his ship alongside an enemy234.
That is not encouragement. It is a specified default for after the chain of command breaks. Before the battle he had built the difference between an organisation that halts the moment the top can no longer direct it and one that keeps running. So when the flagship's signals stopped, and when the admiral died, the shape of the battle held.
The charge is what catches the eye. What decided it was the intent distributed beforehand, so that the chaos the charge created could be absorbed. The unorthodox move did not win; a design that could absorb the side effects of the unorthodox move is what made it available.
Cutting the enemy's line meant cutting your own chain of command. What decided the day was not the charge but having built, beforehand, a fleet that could still fight once the signals stopped.
Thesis
Two layers — the surface fight and the design beneath
The British formed no line and drove into the enemy's flank in two columns.
Collingwood's lee column reached the enemy line ahead of the flagship.
Not acting without orders — there was no need to wait, because the intention was shared. Delegation is also a skill of the receiver3.
Victory's signal halyards were shot away and direction from the flagship stopped.
Anticipated. The default had already been distributed, so the loss of direction did not translate into a stop2.
The Combined van of 10 ships barely got into the action at all.
The far end of a long line is distant from the flagship in time as well as space. The length of the line was itself a command delay4.
The course — 21 October 1805
The fleets sight each other west of Cadiz. The Combined Fleet wears round for Cadiz, and the manoeuvre leaves its line stretched and disordered4.
The British come on in two columns. In light airs the approach is long, and the leading ships are fired into without being able to reply14.
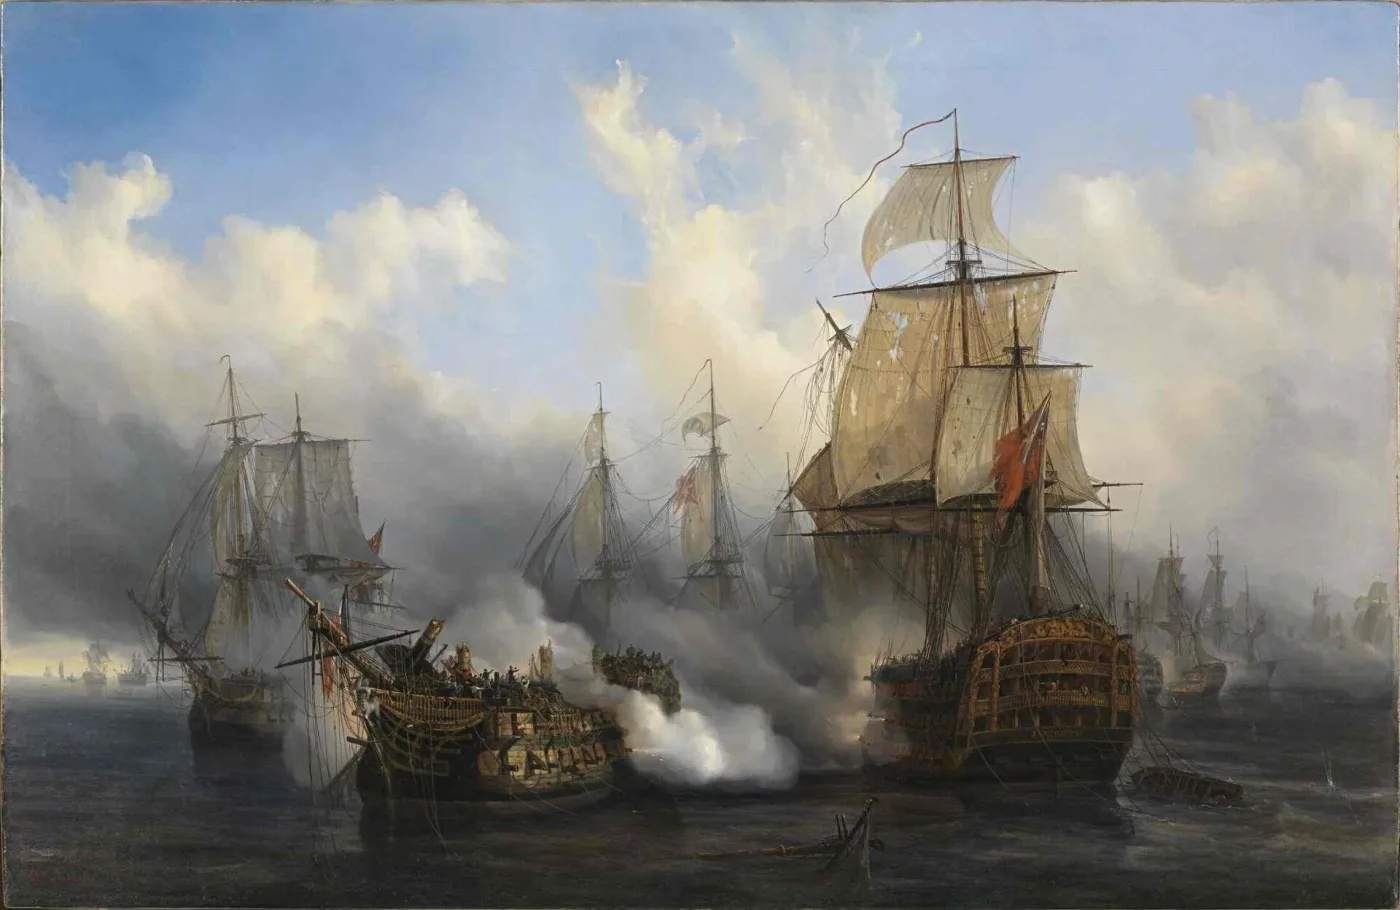
Nelson makes his famous signal, then orders the signal to engage the enemy more closely kept flying. Not a tactical instruction — a restatement of intent23.
Collingwood's lee column reaches the enemy rear and cuts the line first — ahead of the flagship3.
Nelson's weather column cuts the centre. The Combined Fleet is severed into three, and from here it is ship against ship4.
Nelson is shot from the mizzen top of Redoutable, locked alongside Victory. Command passes to Collingwood2.
The van of 10 ships finally beats back, by which time the rear and centre are decided4.
Nelson dies. The Combined Fleet has lost heavily; what is left runs for Cadiz2.
What actually decided it
Intent distributed in advance
A memorandum twelve days before gave the captains the whole aim and their own part in it. The substance of command was that distribution, not the signals on the day234.
A specified default
"If you cannot read the signals, lay your ship alongside an enemy." The ungovernable situation was put into the plan, with an action attached. That is what made a melee fightable3.
Gunnery and seamanship
Delegation only works if the delegate can execute. The gap between a fleet that had stayed at sea blockading and one penned in harbour showed up directly in the melee1.
Attacking the length of the line
On a long line, instructions take time to travel end to end. Beat the centre and rear first and the van is irrelevant before it can return4.
Closing to a decisive range
A long-range exchange leaves the stronger fleet in being at nightfall. Choosing a range at which ships could be taken or sunk is what produced the asymmetry of loss2.
Why the losers were not fools
Pause here. Villeneuve had worked out in advance that the British would not form a regular line but concentrate on part of his fleet. Having worked it out, he told his captains to engage on their own judgment rather than wait for signals from the flagship14. The reading was right, and so was the prescription.
He lost anyway, and the reason sits on the execution side. The long blockade had starved his crews of sea training, the officer corps was thin after the Revolution, and the French and Spanish did not share a language or a signalling practice. "Fight on your own judgment" is only an instruction where people are trained enough to judge and fight. Without that it is simply abandonment1.
This is the part of the case that should worry you. Both commanders had reached the same conclusion — that in a melee each ship must fight for itself. What separated them was not the insight but whether the peacetime work of making that insight executable had been done. Arriving at the right strategy and being able to make an organisation carry it out are different abilities.
So this defeat is not someone else's problem. You can read your opponent exactly and still get the same result if your own organisation cannot follow the reading. Villeneuve did not lose on information. He lost in the distance between reading and doing.
Aftermath — a decision at sea did not end the war on land
Tactically Trafalgar was close to a perfect victory, and it laid the foundation of a century of British command of the sea. It did not end the war.
The day before the battle, on 20 October, Napoleon took the surrender of an Austrian army at Ulm. Six weeks later, on 2 December, he won decisively at Austerlitz. In the same autumn that he was beaten at sea, he was winning on land.14
That is not a coincidence but a description: two wars were running in different arenas. Command of the sea protected Britain and kept trade and subsidies to allies flowing. It could not stop a continental army. A decisive victory is decisive only inside its own arena.
The structure is the same as Cannae, where Hannibal won perfectly and could not make Rome submit. The direction differs: at Cannae the winner could not cash the win, while at Trafalgar the winner bought only safety. The initiative still belonged to the other side. The sea victory began to tell on the land war only after years of blockade and economic pressure had accumulated1.
The story — Turner's canvas and an inverted causation
Few battles have been so thoroughly overtaken by their own story, and the story has two things worth checking.
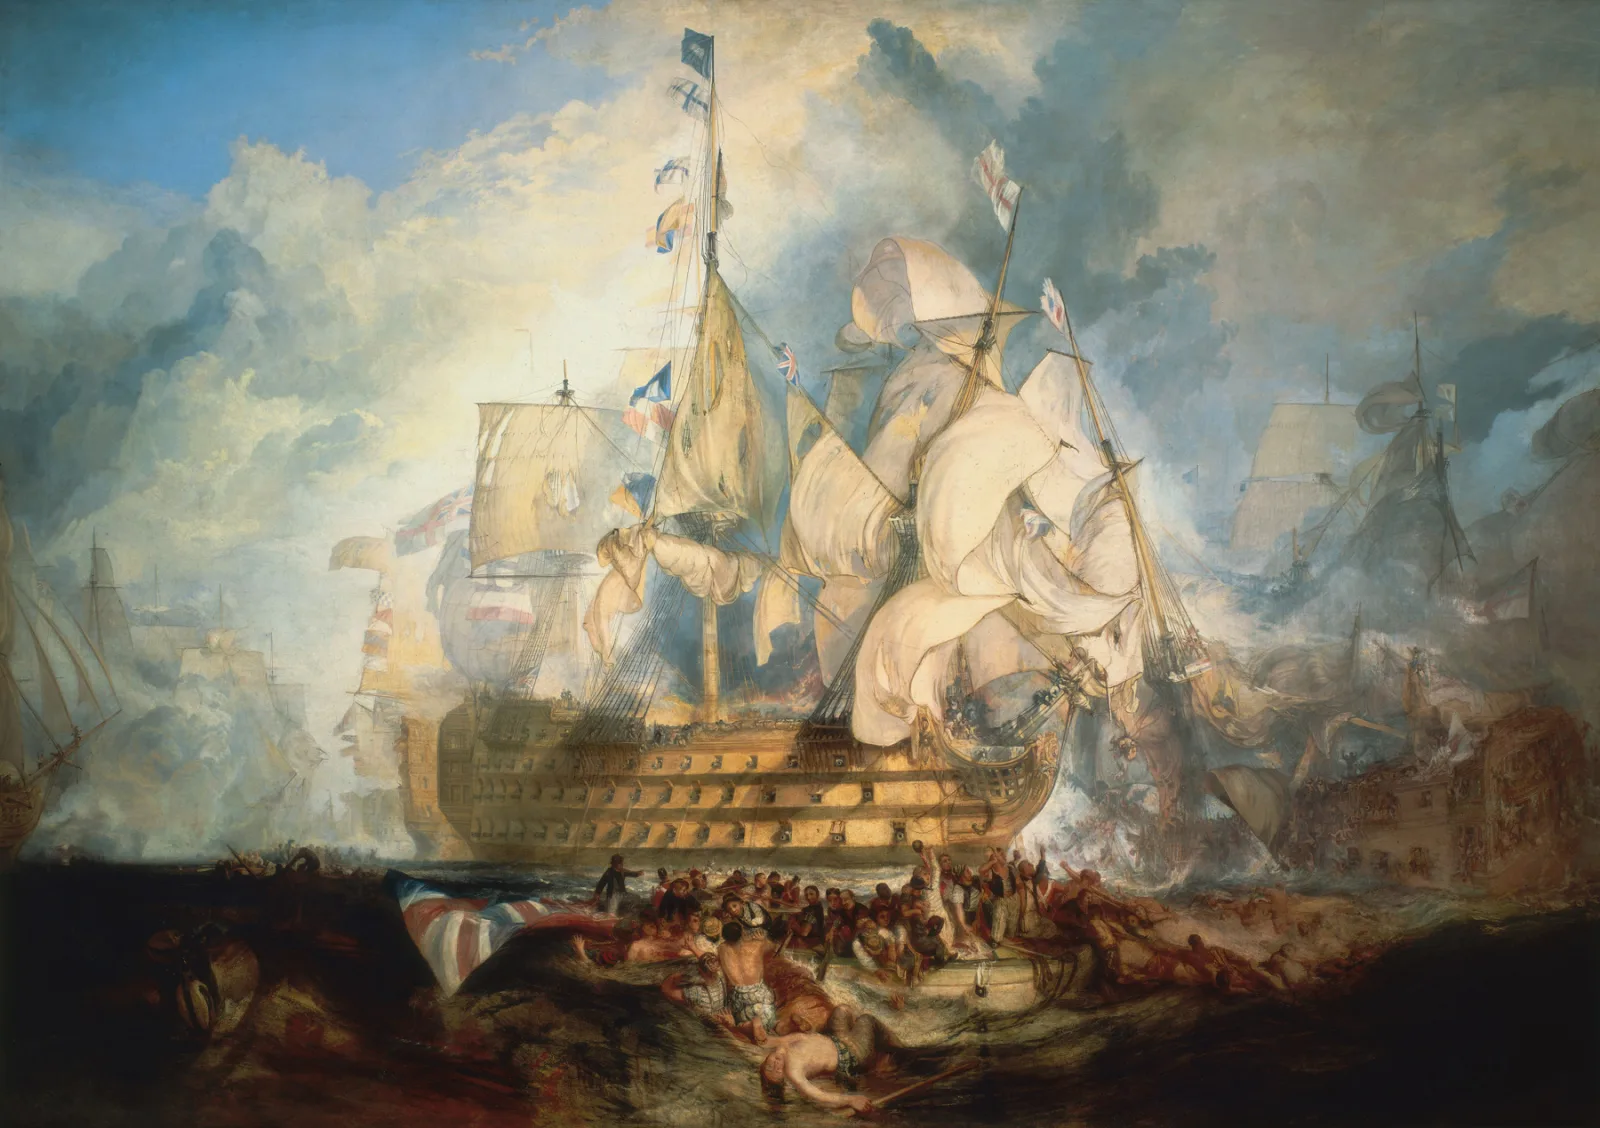
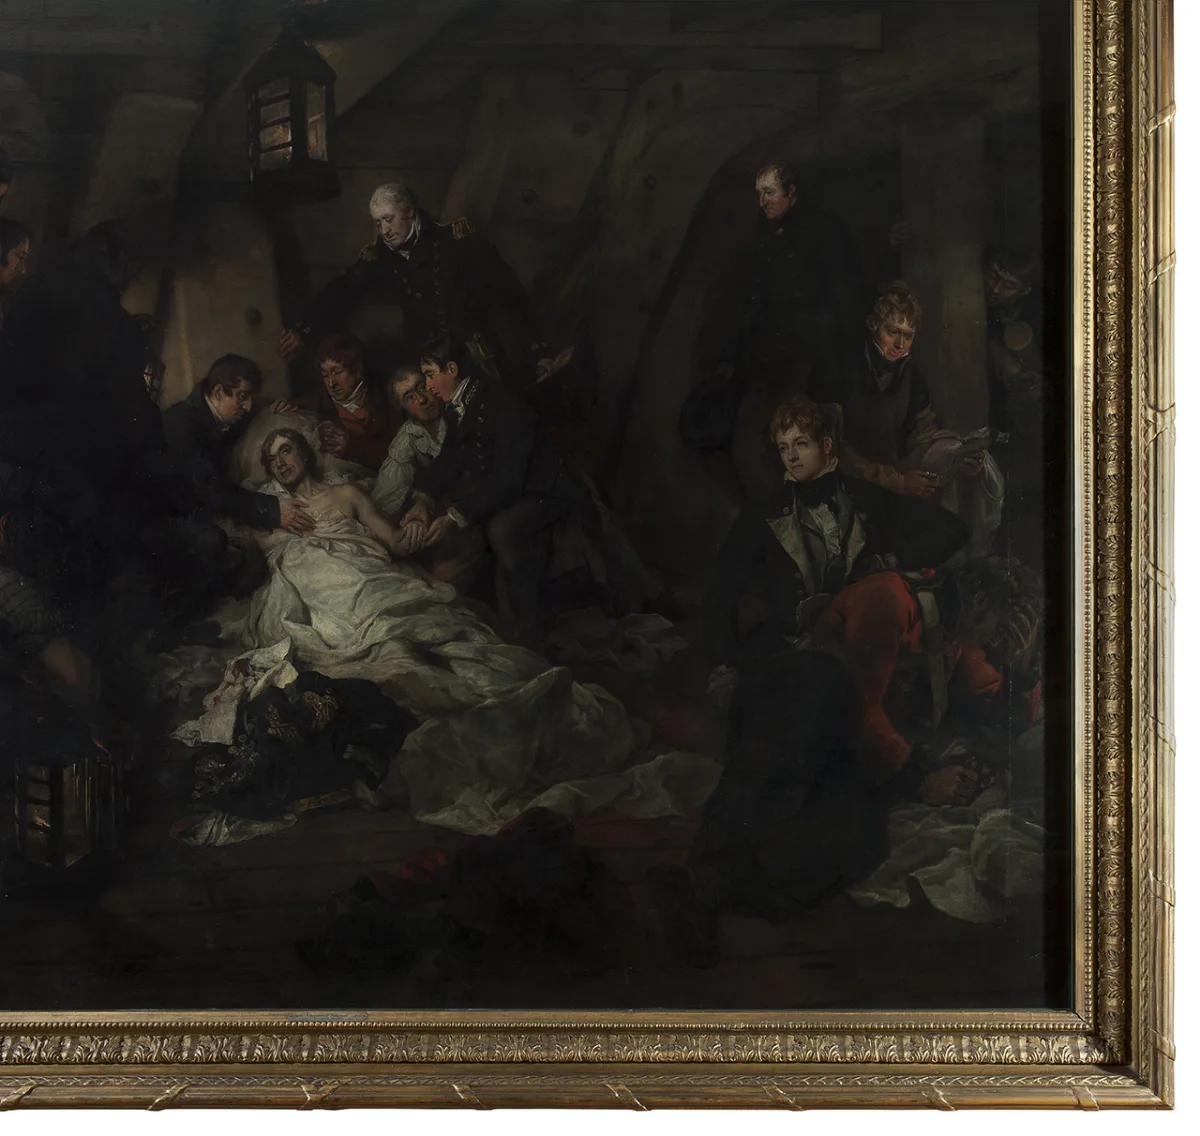
The first is the painting at the head of this article. Turner's The Battle of Trafalgar layers events from different moments onto one canvas: Nelson's signal, the falling mast, the burning Achille — these did not happen together. It was criticised as inaccurate at the time. A painting is not a record; it is a memory. The same goes for the death scene: many versions stage a heroic end in the open air, while the actual place was a dim cockpit below the waterline.
The second is the order of cause and effect. "Trafalgar stopped Napoleon from invading Britain" is widely repeated and the sequence does not work. The invasion army had already broken camp at Boulogne in late August, before the battle, and marched east — which is how it came to be fighting at Ulm on 20 October. The invasion had been abandoned before Trafalgar, for other reasons14.
The correction matters not as a point of chronology. An explanation of the form "one battle decided everything" pushes the things that actually decided it out of view. The "fateful five minutes" at Midway swapped a defeat's causes for chance; here the same function is performed on the causes of a victory. What protected Britain was not one day at sea but the peacetime training that made that day possible and the years of blockade that followed. Credit all of it to a single day and the years that built the day disappear.
Counterfactuals — remove one factor at a time
A: without the memorandum. The same two columns go in, and once the line is cut every captain waits for the flagship. When the halyards are shot away the fleet stops, and the side with the numbers is left standing. Same shape, inverted result.
B: if Nelson had not been shot. The outcome of this battle probably does not change — that it held without him is precisely the result of the design. The meaningful fact is that it was a design whose outcome did not depend on whether its author lived.
C: if the Combined crews had matched the British. Villeneuve's "fight on your own judgment" actually works. The melee stops being one-sided, and the difference in numbers begins to tell. The same reading, a possibly different result.
Each is an untestable thought experiment, not a claim about what was. Only by removing a factor does its weight become visible.
What transfers — in other arenas
Organisations: fix the default for when contact is lost
Decide in calm conditions what people may do when they cannot reach you. Why this example: the same structure of treating lost direction as a premise rather than an accident.
Business: distribute intent, not procedure
The unforeseen always arrives. A runbook covers only the foreseen; a shared purpose lets the people present answer for themselves. Why this example: the memorandum distributed intent, not tactics.
Negotiation and competition: attack the length of the other side's decision line
Against a deep approval hierarchy, move faster than confirmation can travel to the far end. Why this example: the van beat back after the decision had already been made.
Generally: score the reading and the execution separately
Knowing what should be done and being able to make an organisation do it are two different measurements. Why this example: Villeneuve read it right and lost.
In closing — not the unorthodox move, but the state that can absorb it
Summarise Trafalgar as "a surprise attack in two columns" and you miss the core. The charge is the shape, not the reason. Cutting the enemy's line meant cutting your own chain of command, and the shape was available only because a state that could survive that had been built first.
The stronger side did not win; the British were outnumbered. The side that had built, before the battle, an organisation that worked without its commander won. The flagship's signals stopped, the admiral died, and the shape of the fighting did not change. That is what the design produced.
And the same day left a second lesson: a nearly perfect tactical victory did not end the war. Austerlitz showed that the outcome is decided before the blades meet; Cannae that even a decisive victory is not, by itself, decisive. Trafalgar adds a third — a victory is decisive only inside the arena in which it was won.
Protagonist side
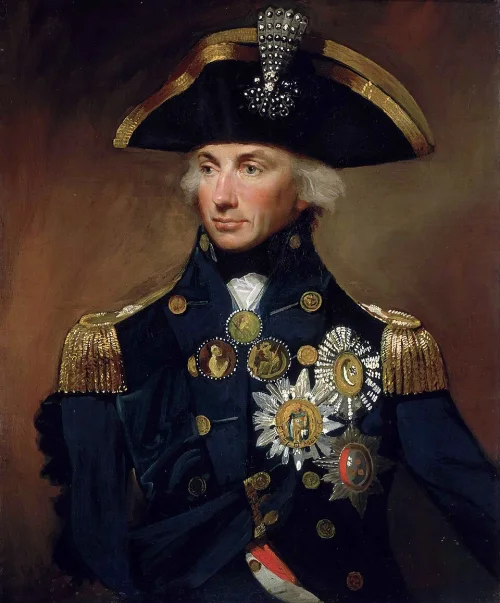
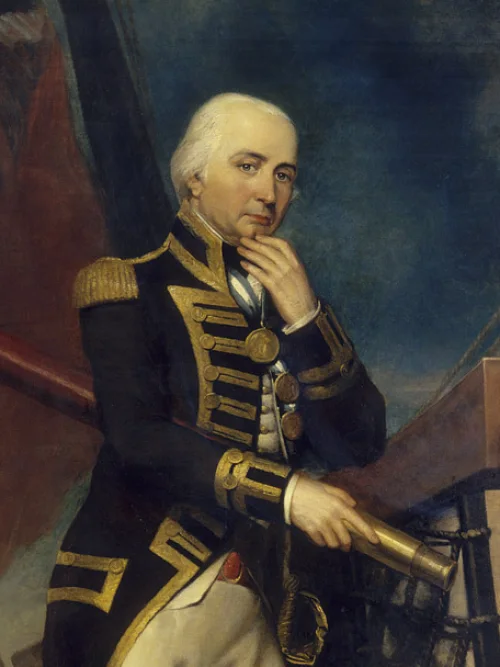
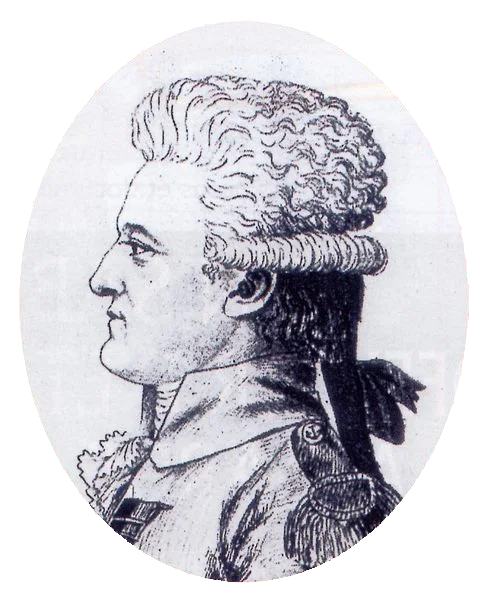
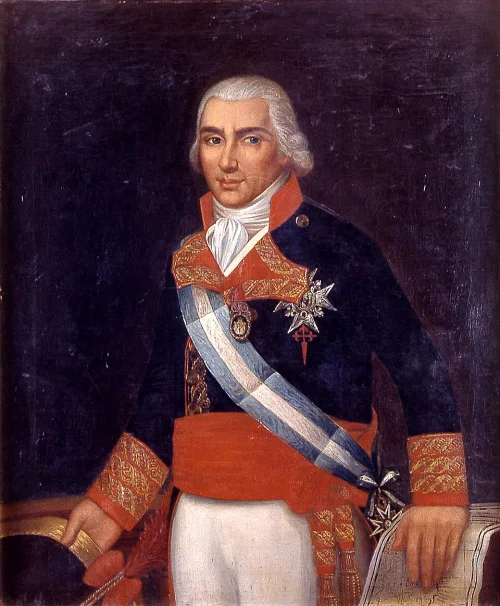
Frequently asked questions
Sources
- N. A. M. Rodger, The Command of the Ocean: A Naval History of Britain, 1649–1815, Allen Lane (2004)
- Roger Knight, The Pursuit of Victory: The Life and Achievement of Horatio Nelson, Allen Lane (2005)
- Andrew Lambert, Nelson: Britannia's God of War, Faber & Faber (2004)
- Julian S. Corbett, The Campaign of Trafalgar, Longmans, Green & Co. (1910)
Related cases — read in comparison